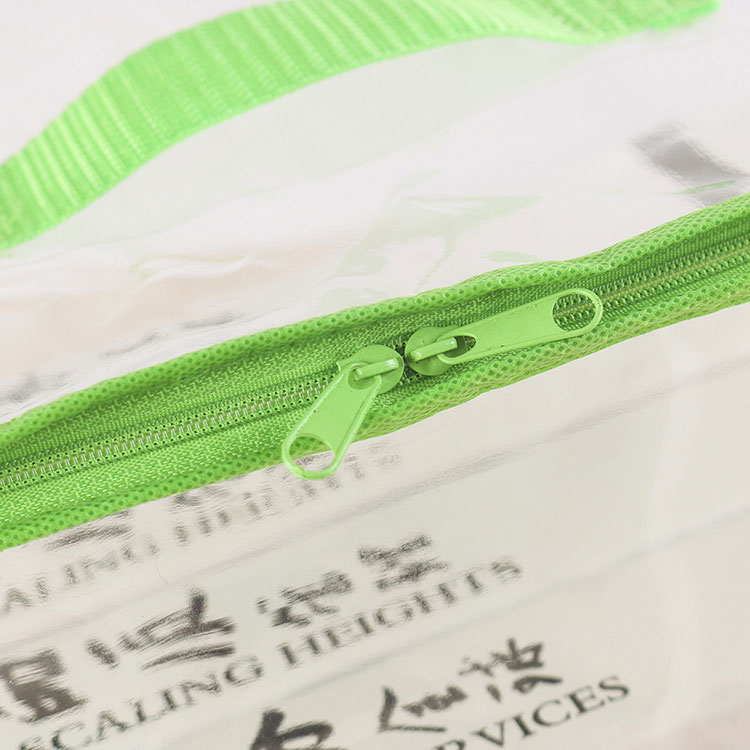
Creating a zipper organizer bag
2024-01-25
Creating a zipper organizer bag through sewing is a fun and practical project. Below are step-by-step instructions to guide you through the process. Feel free to customize the size, fabric, and design to suit your preferences.
Materials Needed:
1. Fabric for the outer layer
2. Fabric for the lining
3. Zipper
4. Sewing machine
5. Scissors
6. Pins
7. Iron
8. Thread
9. Fabric marker or chalk
10. Ruler or measuring tape
Instructions:
Step 1: Prepare Materials
1. Select the fabrics for the outer layer and lining. Cut them to the desired size. You'll need two pieces for the outer layer, two pieces for the lining, and one zipper.
Step 2: Attach the Outer Layer to the Zipper
1. Place one outer fabric piece right side up.
2. Position the zipper face down along one edge of the fabric.
3. Put one lining fabric piece on top, right side down, aligning the edges with the zipper.
4. Pin the layers together.
5. Using a zipper foot on your sewing machine, stitch along the pinned edge, close to the zipper teeth.
Step 3: Attach the Other Side of the Zipper
1. Repeat the process with the other outer fabric piece and lining, attaching it to the other side of the zipper.
2. Press the fabric away from the zipper with an iron.
Step 4: Topstitch
1. Topstitch along the fabric close to the zipper on both sides. This adds a decorative touch and helps the fabric lay flat.
Step 5: Create the Bag Shape
1. Open the zipper halfway to make turning the bag easier later.
2. Fold the piece in half with right sides together, aligning the outer fabric and the lining.
3. Pin the sides and bottom edges together.
4. Sew along the pinned edges, leaving a small opening at the bottom of the lining for turning.
Step 6: Box the Corners
1. To create a flat bottom for the bag, pinch the corners at the bottom and align the side seam with the bottom seam.
2. Measure and mark a line about 1-2 inches from the point.
3. Stitch along the marked line.
4. Trim the excess fabric.
Step 7: Finish the Bag
1. Turn the bag right side out through the opening in the lining.
2. Stitch the opening closed using a slip stitch or topstitch.
3. Push the lining into the bag and press the edges for a crisp finish.
4. Your zipper organizer bag is now ready for use!
Feel free to experiment with different fabrics, sizes, and zipper colors to create personalized organizer bags for various purposes. Whether for travel, cosmetics, or craft supplies, these bags make for handy and stylish organizational solutions.


