
Creating a creative LED table lamp
2024-04-09
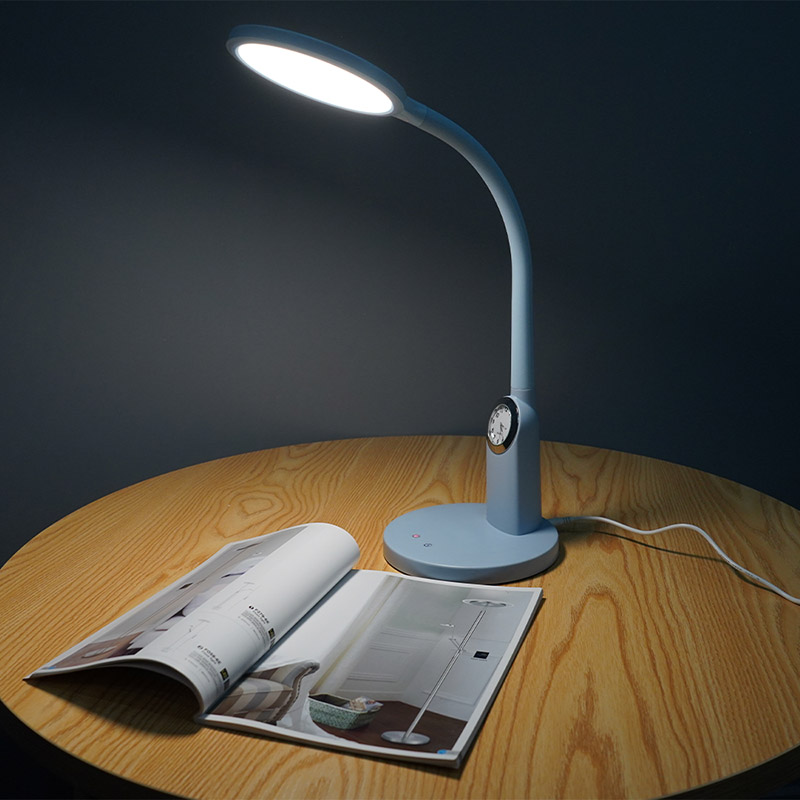
Creating a creative LED table lamp can be a fun and rewarding DIY project. Here's a guide to help you make your own:
1. Gather Materials:
- LED strip lights (choose a color and brightness level that suits your preference)
- Lamp base or stand (wood, metal, or any material you prefer)
- Lampshade (optional)
- Power adapter for the LED lights
- Wiring
- Soldering iron and solder
- Heat shrink tubing
- Switch (optional, for controlling the lamp)
- Drill and drill bits
- Glue or adhesive
- Sandpaper (if working with wood)
2. Design:
- Decide on the design of your table lamp. You can opt for a minimalist design with the LED strip lights exposed, or you can incorporate a lampshade for a softer light.
3. Prepare the Lamp Base:
- If you're using a lamp base, prepare it by sanding and painting or staining it to your desired finish. Allow it to dry completely before proceeding.
4. Install LED Strip Lights:
- Measure the length of LED strip lights needed to wrap around the lamp base or to fit inside the lampshade.
- Cut the LED strip lights to the measured length using scissors or a utility knife, following the cutting marks on the strip.
- Peel off the adhesive backing and carefully attach the LED strip lights to the lamp base or the inside of the lampshade, following the desired pattern or arrangement.
5. Wiring and Soldering:
- Cut the wires of the LED strip lights to expose the copper pads.
- Solder wires to the copper pads of the LED strip lights, ensuring proper polarity.
- Use heat shrink tubing to insulate and protect the soldered connections.
6. Install Switch (Optional):
- If you want to include a switch to control the lamp, drill a hole in the lamp base or along the wire path.
- Install the switch according to the manufacturer's instructions, and wire it into the circuit.
7. Connect Power Adapter:
- Connect the wires from the LED strip lights to the power adapter. Ensure proper polarity and secure connections.
- Plug in the power adapter and test the LED lights to make sure they are working correctly.
8. Final Assembly:
- Once everything is tested and working, secure any loose wires and tidy up the wiring inside the lamp base.
- Attach the lampshade if you're using one.
- Secure any loose components with glue or adhesive if necessary.
9. Finishing Touches:
- Customize your lamp further by adding decorative elements or personal touches.
- Adjust the positioning of the LED lights to achieve the desired lighting effect.
10. Enjoy Your Lamp:
- Place your DIY LED table lamp in your desired location and enjoy the ambiance it creates!
Remember to exercise caution when working with electricity and soldering equipment. If you're unsure about any step, consult with someone experienced or seek professional assistance.